Drawing a moon is a popular artistic endeavor that combines creativity with scientific observation. The moon, Earth’s only natural satellite, has been a subject of fascination for humanity throughout history. Its phases, craters, and luminous appearance in the night sky make it an intriguing subject for artists of all skill levels.
To draw a moon, one typically begins with basic shapes and gradually adds details. The process often starts with a circle or crescent shape, depending on the desired lunar phase. Artists then focus on creating texture and depth by adding craters, shadows, and highlights.
Various techniques can be employed, such as shading, stippling, or cross-hatching, to achieve different effects and levels of realism. The moon’s appearance in artwork can range from scientifically accurate representations to more stylized or symbolic interpretations. Artists may choose to depict specific features like the Sea of Tranquility or incorporate elements of lunar mythology and cultural significance.
Drawing the moon can serve as an exercise in observational skills, artistic technique, and scientific understanding. It allows artists to explore concepts of light and shadow, perspective, and astronomical phenomena. Additionally, moon drawings can be incorporated into larger compositions, such as nighttime landscapes or celestial-themed artwork.
Key Takeaways
- Drawing a moon can be a fun and creative activity for artists of all levels.
- The materials needed for drawing a moon include paper, pencil, eraser, and blending tools.
- A simple moon can be drawn in a few easy steps using basic shapes and shading techniques.
- Adding details such as craters and shadows can enhance the realism of the moon drawing.
- Tips for enhancing your moon drawing include studying reference images and practicing different shading techniques.
Materials Needed for Drawing a Moon
Essential Materials
To create your moon drawing, you’ll need the following essential materials:
* High-quality drawing paper suitable for your preferred drawing medium, such as graphite pencils, charcoal, or pastels. The paper should have a smooth surface that allows for easy blending and shading.
* A set of drawing tools, including graphite pencils, charcoal sticks, pastels, blending stumps, erasers, and sharpeners, depending on your preferred drawing technique.
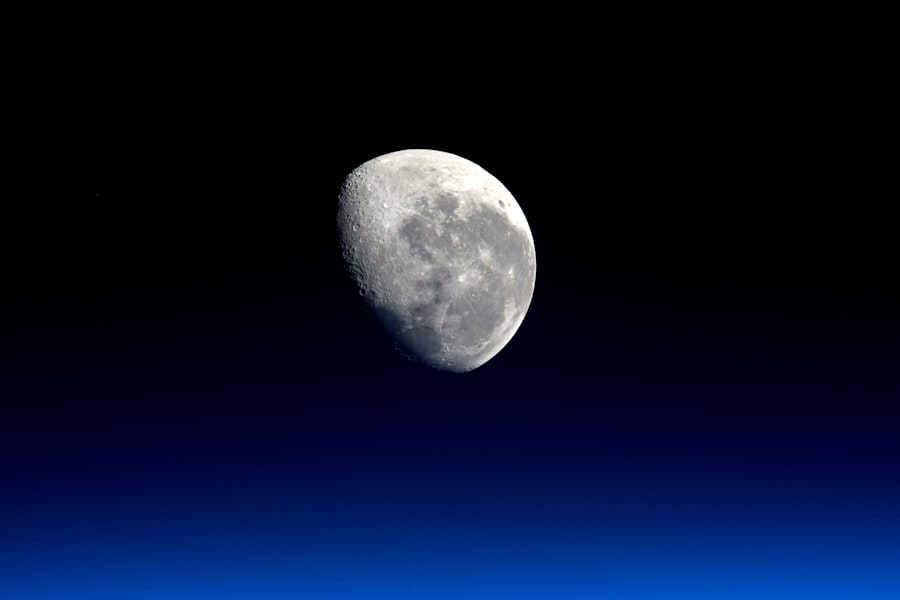
* A reference image of the moon to guide your drawing, which can be a photograph taken from a telescope or an online resource.
* A comfortable and well-lit work surface where you can spread out your drawing materials and work without distractions.
Optional Materials
Depending on your artistic preferences, you may also want to consider using additional materials, such as:
* White gel pens or white pastels for adding highlights to your moon drawing.
Let’s Get Started!
Now that we have our materials ready, we can move on to the step-by-step process of drawing a simple moon.
Step-by-Step Guide to Drawing a Simple Moon
To begin drawing a simple moon, start by lightly sketching a circle on your drawing paper using a graphite pencil. This circle will serve as the basic outline of the moon. Next, use your pencil to shade the entire circle with light, even strokes to create a base layer of shading.
This will establish the overall shape and form of the moon. Once you have applied the base layer of shading, use a blending stump or your finger to gently blend the graphite to create a smooth and seamless transition of tones. Pay attention to the natural contours and shadows of the moon as you blend the shading to achieve a realistic three-dimensional effect.
After blending the shading, use an eraser to carefully lighten specific areas of the moon to create highlights and enhance the illusion of depth. Focus on areas where light would naturally hit the surface of the moon, such as the edges and curves. This will add dimension and realism to your moon drawing.
To complete your simple moon drawing, take a step back and assess the overall appearance of your drawing. Make any necessary adjustments to the shading and highlights to achieve the desired look. Congratulations!
You have successfully drawn a simple moon.
Adding Details to the Moon Drawing
| Details | Number |
|---|---|
| Craters | 15 |
| Mountains | 5 |
| Shadows | 10 |
Now that you have mastered the basic steps of drawing a simple moon, it’s time to add details to enhance the realism and visual interest of your drawing. Adding details such as craters, lunar maria, and surface texture can bring your moon drawing to life and make it more captivating. To add craters to your moon drawing, use a sharp pencil or charcoal stick to lightly sketch irregular shapes and indentations on the surface of the moon.
Craters are formed by meteorite impacts and are an iconic feature of the lunar landscape. Pay attention to the distribution and size of the craters to create a natural and realistic appearance. In addition to craters, lunar maria are dark, flat plains on the surface of the moon that can be added to your drawing for extra detail.
Use your drawing tools to create smooth, shaded areas within the boundaries of the lunar maria, contrasting them with the rougher texture of the surrounding terrain. To further enhance the texture and visual interest of your moon drawing, consider adding subtle variations in shading and tone to simulate the uneven surface of the moon. Use light, circular motions with your pencil or charcoal to create a sense of depth and dimension in your drawing.
By adding these details to your moon drawing, you can elevate its visual impact and create a more dynamic and realistic representation of this celestial body.
Tips for Enhancing Your Moon Drawing
As you continue to develop your moon drawing skills, consider incorporating these tips to enhance your drawings: 1. Study Reference Images: Take time to study photographs and images of the moon to observe its unique features, surface textures, and lighting conditions. This will help you develop a deeper understanding of how to accurately depict the moon in your drawings.
2. Experiment with Different Drawing Techniques: Explore various drawing techniques such as stippling, cross-hatching, or blending to create different effects and textures in your moon drawings. Experimenting with different techniques can help you discover new ways to bring your drawings to life.
3. Use Contrast for Impact: Pay attention to contrast in your drawings by incorporating both light and dark areas to create depth and visual interest. Contrast can help emphasize the three-dimensional form of the moon and make it more visually striking.
4. Practice Patience: Drawing detailed and realistic moons takes time and patience. Be patient with yourself as you develop your skills and allow yourself to make mistakes along the way.
Practice regularly and enjoy the process of learning and improving. By incorporating these tips into your drawing practice, you can continue to refine your moon drawing skills and create stunning works of art.
Using Different Techniques to Draw a Moon
Exploring Alternative Techniques
In addition to traditional drawing techniques, there are various alternative methods for creating unique and visually captivating moon drawings. Experimenting with different techniques can add an exciting dimension to your artistic practice and allow you to explore new ways of expressing the beauty of the moon.
Using Toned Paper and Charcoal or Pastels
One alternative technique for drawing a moon is using charcoal or pastels on toned paper. Toned paper provides a mid-tone background that allows you to work from both light and dark values, creating a dramatic effect in your moon drawing. Charcoal or pastels can be used to build up layers of shading and highlights on toned paper, resulting in rich textures and contrasts.
Mixed Media and Experimental Approaches
Another technique for creating striking moon drawings is using mixed media. By combining different drawing materials such as graphite pencils, charcoal, ink, or even digital tools, you can experiment with diverse textures and effects in your moon drawings. Mixed media allows for endless possibilities in creating unique and expressive representations of the moon. For artists interested in exploring more experimental approaches, consider incorporating unconventional materials into your moon drawings.
Conclusion and Final Thoughts on Drawing a Moon
Drawing a moon is an enriching artistic endeavor that allows you to connect with nature, explore different drawing techniques, and express your creativity through visual art. Whether you are drawn to realistic depictions of the moon or prefer to experiment with imaginative interpretations, there are endless possibilities for creating stunning moon drawings. By following this step-by-step guide, gathering essential materials, adding details, incorporating tips for enhancement, exploring different techniques, and experimenting with alternative methods, you can expand your artistic skills and develop a deeper appreciation for the beauty of the moon.
As you continue on your artistic journey, remember that drawing is not only about creating visually appealing images but also about embracing the process of learning, experimenting, and expressing yourself through art. So pick up your drawing materials, look up at the night sky for inspiration, and let your imagination soar as you embark on the captivating adventure of drawing a moon.
If you’re looking for more inspiration for easy drawing tutorials, check out this article on how to draw a simple flower. It’s a great way to practice your drawing skills and add some natural beauty to your artwork. Plus, it’s a relaxing and enjoyable activity for artists of all levels.
FAQs
What materials do I need to draw a moon?
To draw a moon, you will need a piece of paper, a pencil, an eraser, and optionally, colored pencils or markers for adding details and shading.
What are the steps to draw a simple moon?
To draw a simple moon, start by drawing a large circle on your paper. Then, add some craters and texture to the surface of the moon. Finally, you can shade the moon to give it a more realistic appearance.
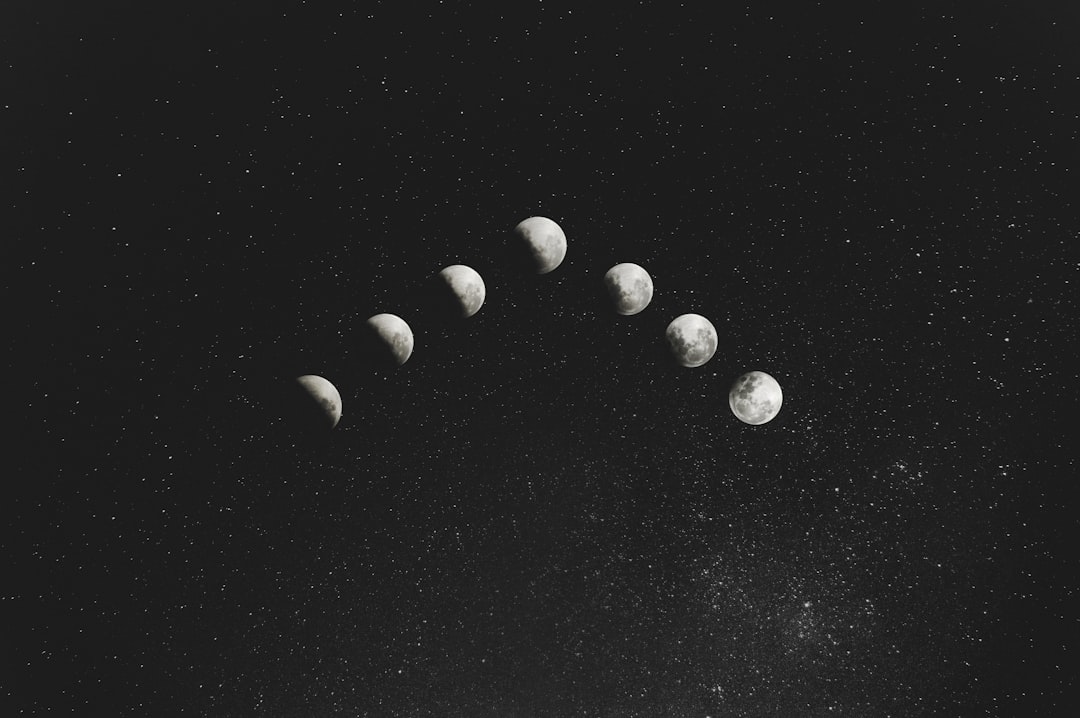
Are there different ways to draw a moon?
Yes, there are many different ways to draw a moon. You can draw a full moon, a crescent moon, a half moon, or even a moon in different phases. You can also add different details and backgrounds to make your moon drawing unique.
Can I add color to my moon drawing?
Yes, you can add color to your moon drawing using colored pencils, markers, or even watercolors. You can choose to make your moon drawing realistic with shades of gray, or get creative and use different colors to make your moon stand out.
Are there any tips for drawing a realistic-looking moon?
To make your moon drawing look more realistic, pay attention to the shading and texture of the moon’s surface. You can also add stars or a night sky background to enhance the overall effect. Practice drawing different shapes and sizes of craters to add depth and dimension to your moon drawing.